
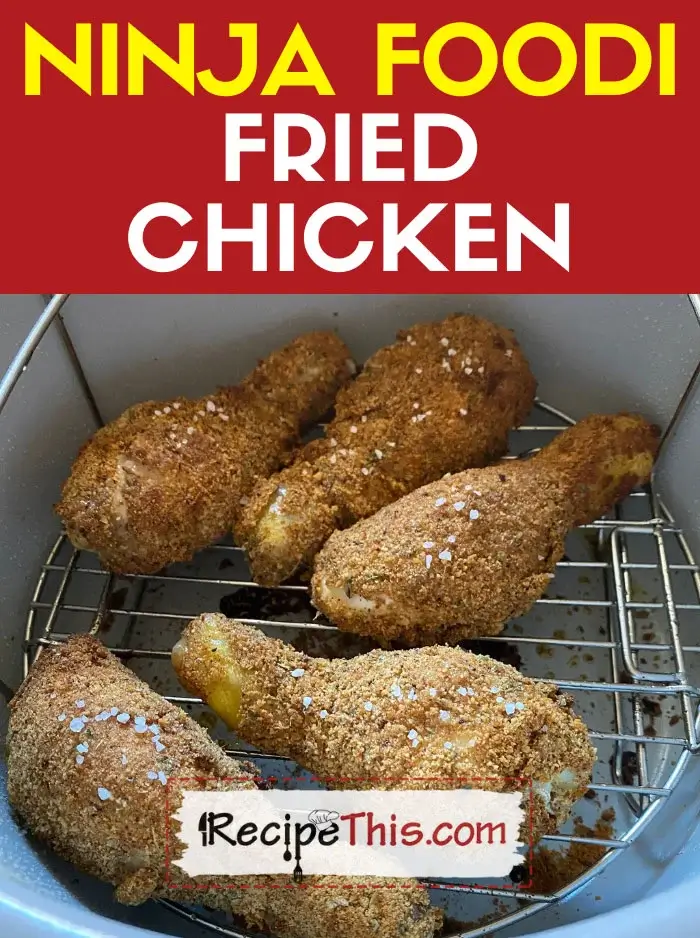
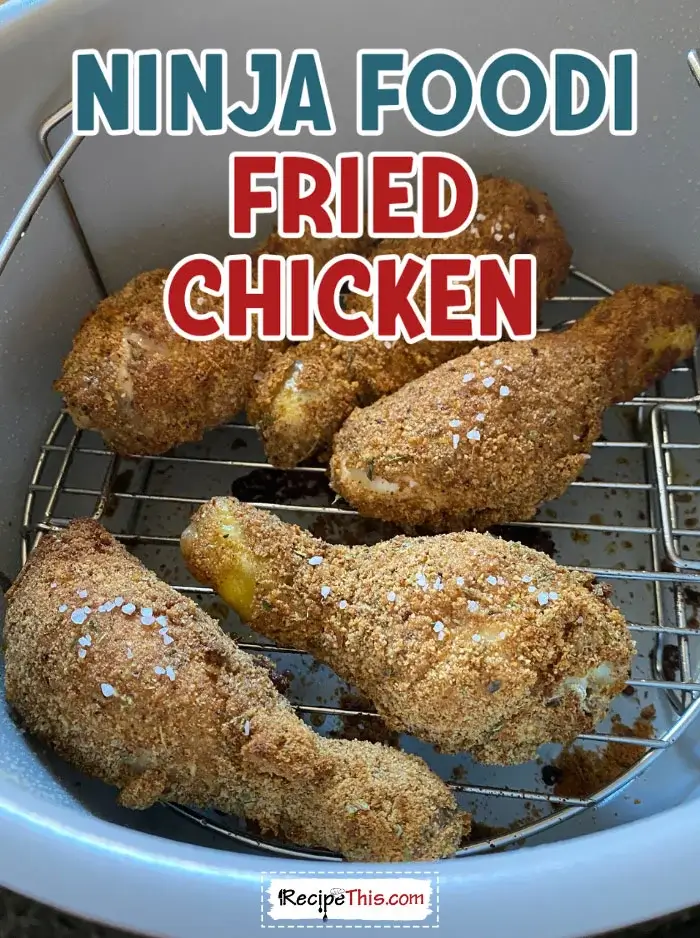
Delicious Ninja Foodi Fried Chicken. Easy prep thanks to our simple production line, they are perfect for saving money on takeaways and recreating at home on a Saturday night.
These ninja foodi drumsticks are created using the air fryer function but easy to mix and match with different ninja air fryers. Much lower in calories to the deep fryer, but just as crispy this will become a family favourite.
Fried Chicken In Ninja Foodi
In the Milner house it feels like a wonderful romance that we have been having with our Ninja Foodi. We went from Ninja Foodi hard boiled eggs for our first recipe and less than a month later we are publishing recipe #10 which is the best crispy southern fried chicken ever.
And all thanks to the Ninja Foodi.
I gave the hubby a list in a Microsoft Excel spreadsheet of all the recipes I wanted to cook in the Ninja Foodi. Some had been requested by our readers and others were ones I just wanted to make.
He skimmed down the list which had about 40 Ninja Foodi recipe ideas on it and what caught his attention was Ninja Foodi Fried chicken.
My hubby is a HUGE fried chicken fan, but sadly can’t go to KFC to have them because of a food allergy. He is allergic to both sage and to tarragon. Both seasonings that are heavily featured in traditional Kentucky fried chicken when you eat out.
Though, I love to make air fryer fried chicken because it is much lower in the calories and you can choose what seasonings you put in the chicken. You also don’t have to limit it to JUST chicken drumsticks either.
The above is what I said back in late 2020 after a few months with our Ninja Foodi. The same applies today – we still love our ninja foodi and still think that air fried chicken is the best and rather easy for new air fryer or ninja foodi users.
If you like the idea of breading chicken using the air fryer, then also check out: Air Fryer Popcorn Chicken | Air Fryer Zinger Burger | Air Fryer Chicken Schnitzel | Air Fryer Cordon Bleu.

Can You Deep Fry In Ninja Foodi?
Yes, you can cook any of your favourite foods you would normally deep fry and air fry them in the ninja foodi instead. The only exception is battered fresh food. For example, you can’t do battered fish, but you can do breaded like our air fryer fish and chips, or you could do battered frozen like our air fryer frozen battered fish and chips.
The reason is that the batter comes off before it has finished air frying and makes a lot of air fryer mess.
But everything else goes such as ninja foodi frozen chicken wings, air fryer breaded pork chops and even air fryer spam.
Can You Make Fried Chicken In The Ninja Foodi?
Absolutely and fried chicken in the Ninja Foodi is amazing.
I was a little nervous about it at first. After all the air fryer we normally use adds a much better crisp to it. Plus, I had tried it with the Mealthy Crisplid and it was not as good as I would have thought.
But the Ninja Foodi impressed me and produced delicious fried chicken that we all loved.
Ninja Foodi Fried Chicken Legs
While over in Europe they would call it chicken drumsticks, in America, you might call what we are making today Ninja Foodi fried chicken legs.
To us Europeans it would only be a chicken leg if the thigh was included.
So, if you are reading this and wondering why we call them Ninja Foodi fried chicken drumsticks then you know now!
Ninja Air Fryer Fried Chicken
When we cook Ninja fried chicken, we use the air fryer button. This way we can focus on achieving perfectly crispy chicken.
You can of course pressure cook it for a little while first to make it more tender, but we found the results from the air fryer were amazing on their own.
What About Ninja Foodi Fried Chicken Breast?
Whilst most of us would think of fried chicken and think about ninja foodi chicken drumsticks, you could also cook ninja foodi fried chicken breast. Either in the style of a KFC fakeaway where the chicken is bone in, or do boneless like air fryer chicken kiev, air fryer chicken cordon bleu, or like air fryer chicken schnitzel.
Or Ninja Foodi Fried Chicken Thighs?
The same applies to ninja foodi fried chicken thighs. You can do drumsticks, you can do thighs, you can do bone in chicken breast or chop up a whole chicken and have a good variety.
What Is The Ninja Air Crisp Like?
The Ninja Air Crisp is amazing and the best I have seen for an air fryer function on a pressure cooker.
It crisps up food like ninja air fryer chicken legs just as good as our other air fryers do.
Would you like easy & amazing Ninja Foodi recipes from air fryer and pressure cooker experts? Click here and join the Recipe This Newsletter. We will then send you the BEST Ninja Foodi beginner recipes direct to your email inbox along with other useful Ninja Foodi resources.
Ninja Fried Chicken Ingredients
Chicken – We used 10 chicken drumsticks in our ninja fried chicken, though you could do more or less. Note you can’t stack if you want crispy chicken, therefore you might want to do it in batches. You can also swap drumsticks (or chicken legs as you might call them) for thighs or breast, or even wings. Though do adjust the cook time if using smaller or bigger chicken pieces.
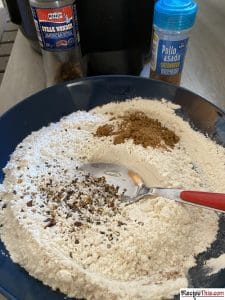
Breading – Then for breading your ninja foodi drumsticks we recommend a bowl with flour, another with egg and a third with your favourite breadcrumbs. Seasoning – There is nothing worse than bland fried chicken, so we need plenty of seasonings to give it the wow factor. We are using paprika, oregano, our favourite fried chicken mix that we make ourselves (get it here) and plenty of salt and pepper.
Can You Recommend A Ninja Foodi?
I often get asked which kitchen gadgets I recommend and which one I use. For the Ninja Foodi we have this one. It doesn’t have as many bells and whistles compared to some of the newer models, but it does a great job.
We can dehydrate, air fry, pressure cook, sauté, slow cook, make yoghurt and so much more.
Plus, we recommend you head over to our ninja foodi recipes category as we have been using the Ninja Foodi since 2020 and just love it for simplicity, how delicious the recipes are when cooked in it and how much time it saves us in the kitchen. We even take the Ninja Foodi on holiday with us.
How To Cook Fried Chicken In A Ninja Foodi?

- Production. To make ninja foodi air fryer chicken you need the production line. With a bowl for the egg, a bowl for the flour and a bowl for the breadcrumbs. We find shallow bowls work best as its easier to bread. Scroll below for more details about our fried chicken production line.
- Flavour. Next its time flavour up your bowls. Season the flour with salt and pepper and extra pepper so that its slightly peppery like a KFC. Add the other seasonings to your breadcrumbs. Then make sure each bowl is well mixed.
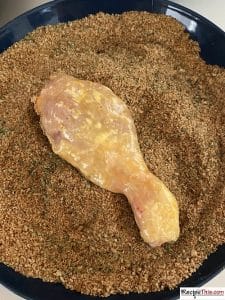
- Bread. Next season the chicken drumsticks with salt and pepper, then coat in the flour, the egg and then finally the breadcrumbs. Make sure the chicken gets a thorough coating in each for the best results.
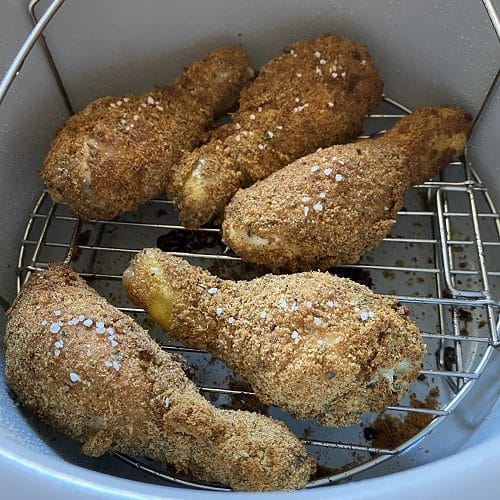
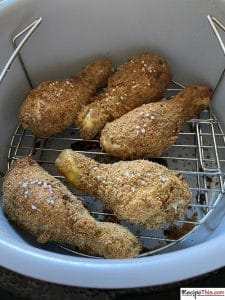
- Air Fry. Next its time to air fry your southern fried chicken. Place the ninja air fryer trivet into the cooking pot, then carefully place the breaded chicken drumsticks onto the shelf. Then place the lid down on the air fryer and air fry at 180c/360f for 10 minutes. Turn the chicken over with tongs and do the same again on the other side, though when you flip we recommend some olive oil spray to give it an extra crisp.
You now have ninja air fryer drumsticks ready for serving for dinner.
Ninja Fried Chicken Production Line
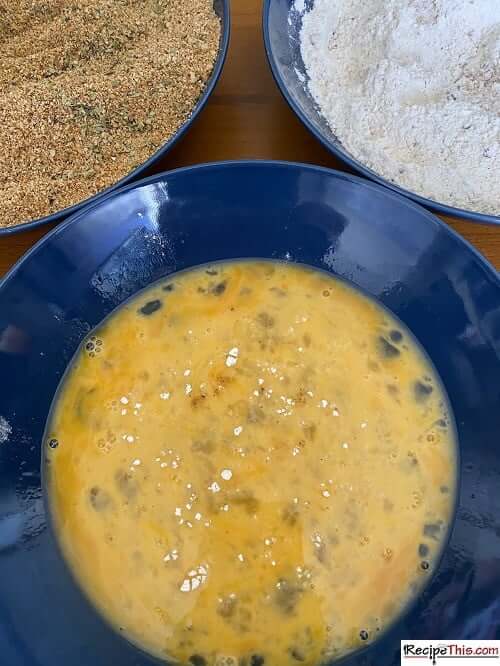
Organisation is key when making Ninja Foodi Fried Chicken. You want to create a bowl system that way you can bread your chicken drumsticks quickly and get them cooking.
Have one bowl for your beaten egg, another bowl for your flour and a third with your breadcrumbs.
I also keep a stock of breadcrumbs in the freezer. Each time I have spare stale bread I will load it into the blender. Then blend and load into my freezer bag. Then when I make fried chicken, I have a good supply.
Also note that you can only cook a small amount of chicken drumsticks at once because the cooking pot for the air fryer is not that big. Instead get the next batch ready, while another batch is cooking.
How Long To Air Fry Fried Chicken In The Ninja Foodi?
This ninja air fried chicken takes JUST 20 minutes from just breaded to perfectly crispy and delicious and on your dinner plate.
This includes 10 minutes on each side for chicken drumsticks, though the time will vary if your chicken drumsticks are bigger than ours.
Listen To Ninja Foodi Fried Chicken
Want to learn more about our Podcast? Then click here and you can browse through past episodes and subscribe to the Magic With Gadgets Podcast.
More Delicious Chicken Recipes
- Air Fryer Boneless Chicken Thighs
- Air Fryer Peri Peri Chicken
- Air Fryer Chicken Burrito Bowl
- Instant Pot Chicken Stock
- Instant Pot Whole Chicken
- Instant Pot Tuscan Chicken Soup
- Slow Cooker Chicken & Potatoes
- Slow Cooker Honey Garlic Chicken Wings
Plus, remember you can use the pressure cook button for instant pot recipes, air fryer button for air fryer recipes, and slow cook for slow cooker recipes, making the ninja foodi the best all in one cooking machine.
Ninja Foodi Recipes To Try Next
- Ninja Foodi Hard Boiled Eggs
- Ninja Foodi Sweet Potato Fries
- Ninja Foodi Mac And Cheese
- Ninja Foodi French Fries
- Ninja Foodi Frozen French Fries
- Ninja Foodi Potatoes
- Ninja Foodi Bacon
- Ninja Foodi Ribs
- Ninja Foodi Pot Roast
- Check out all our Ninja foodi recipes!
This ninja foodi breaded chicken recipe is an updated post and was originally shared with you in late 2020.
Your recipe for chicken in the ninja foodi is below, note you can print it out with or without photos, adjust servings, or click between metric and imperial depending on where you are in the world.

Though before you do, don’t forget to subscribe, and grab your FREE VIP Pass to Recipe This. You will get access to our latest recipes first, you will be able to request recipes, you will have access to free mini courses, free ebooks and useful cook time charts and so much more.

Ninja Foodi Fried Chicken
Ingredients
Kitchen Gadgets:
Ninja Foodi Fried Chicken Ingredients:
- 10 Chicken Drumsticks
- 3 Eggs beaten
- 250 g Breadcrumbs
- 100 g Plain Flour
- 5 Tbsp Southern Fried Chicken Seasoning
- 1 Tbsp Paprika
- 1 Tbsp Oregano
- 3 Tbsp Black Pepper
- Salt & Pepper
- Extra Virgin Olive Oil Spray
Instructions
- Create your production line. Have one bowl for your eggs, one for your flour and a third for your breadcrumbs. Season the flour with salt and pepper and extra pepper. Add the other seasonings to your breadcrumbs. Make sure each bowl is well mixed.
- Generously season chicken drumsticks with salt and pepper. Then load the chicken drumsticks into the flour, egg and then the breadcrumbs. Making sure it is drenched in each bowl.
- Load your chicken into the Ninja Foodi trivet in the lower upside down position. Place the air fryer lid on the Ninja Foodi and cook for 10 minutes at 180c/360f. When it beeps turn the chicken over, season with extra salt and spray with a little extra virgin olive oil. Cook for another 10 minutes at the same temperature.
Video
Notes
Nutrition
Can’t make it now? Then save it for later!
Omg I read through so much unnecessary hooplah to get to the darn recipe
Hi Mike,
You could have saved yourself a load of hoopla if you had just read at the top of the post the red words jump to recipe, self explanatory Mike. You click it and you go straight to the recipe, so then if you had seen it and not been so quick to criticise and make me write all this hoopla you could have saved both of us loads and loads of time all the best Mike 🙂
Awesome recipe! Since I’m allergic to wheat I used gf cracker crumbs instead, and the legs I bought were extra meaty so I lengthened the time to 12 and 11 minutes – worked out very well! Thank you, recipe pinned!
How about using chicken thighs?
Hi Marilu,
Yes you could use chicken thighs instead of the chicken drumsticks but the cook times will have to be changed as the thighs take quite abit longer to cook 🙂
Can you use chicken breast
Hello Dencat,
Yes you could do but adjust the cook time slightly as the drumsticks in our experience cook quicker than a chicken breast ????
My first air fried chicken and to my surprise it turned out not dry like some Facebook groups were saying about air frying, these were succulent and juicy and very tasty, my wife who is not a big fried chicken fan demolished 3 drumsticks on her own, many thanks.
These makes me not want to go to KFC as often, they were delicious and juicy and very tender. For someone who is new to this gadget trying new things is always a challenge, thank you for making it easy for me Sam.