How to make an easy Ninja Foodi cheesecake. Using the Ninja Foodi pressure cooker function, this cheesecake will have you going back for seconds.
This is the ultimate cheesecake recipe from scratch loaded with oreos, oreo crumbs and a delicious McVitie biscuit base.
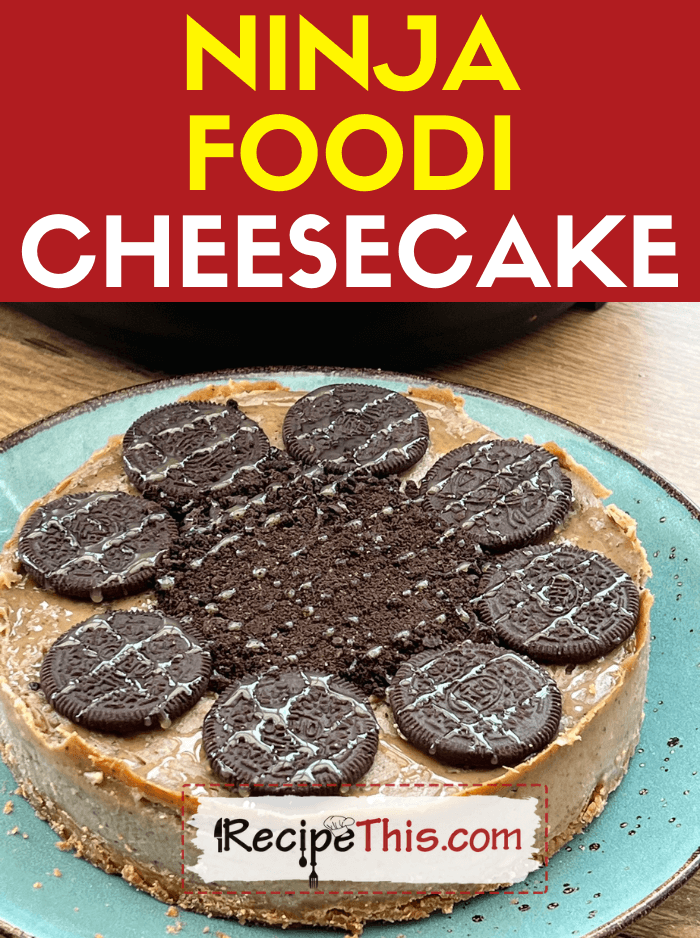
Table of Contents
Cheesecake In The Ninja Foodi
Oh, my goodness. Cooking a cheesecake recipe from scratch in the Ninja Foodi has been on my to do list since forever.
After great success with my instant pot cheesecake and air fryer cheesecake, I wanted to see what the results would be like if I created a new flavour of cheesecake, using a similar process but in the Ninja Foodi.
My air fryer version of cheesecake is similar to the New York Cheesecake, whilst the instant pot version is strawberry.
Therefore, I went with the boys favourite and made an oreo cheesecake in the Ninja Foodi.
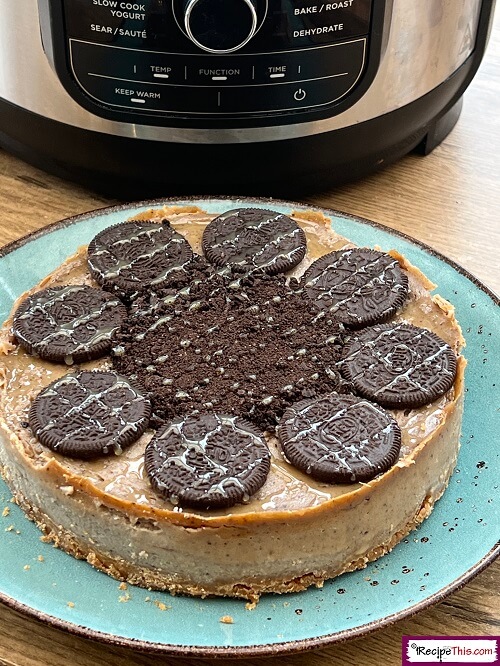
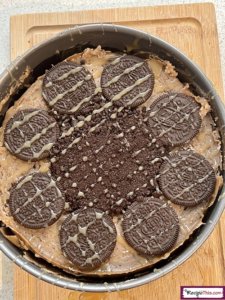
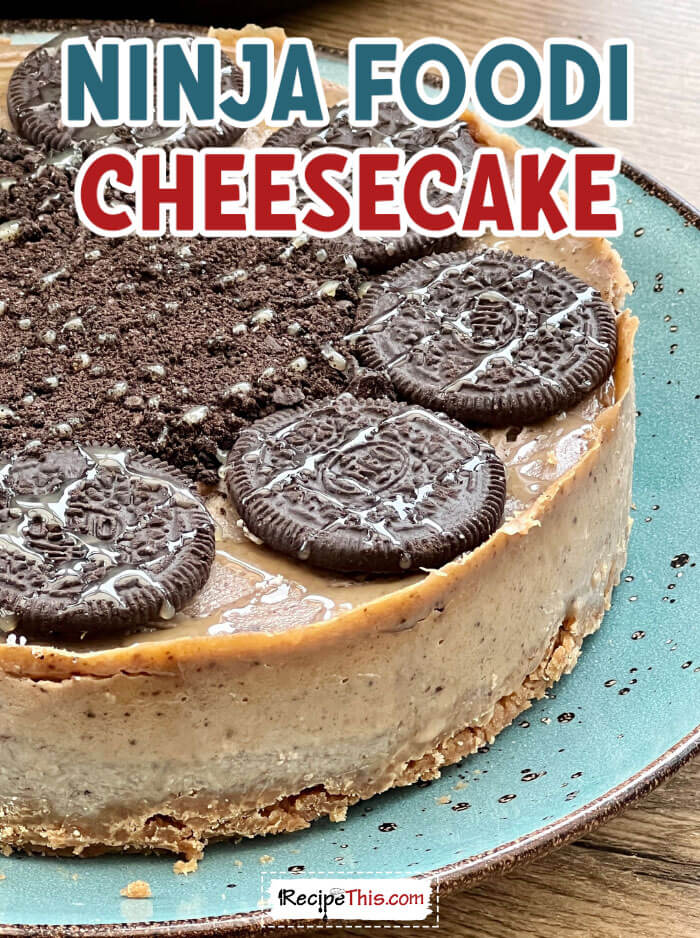
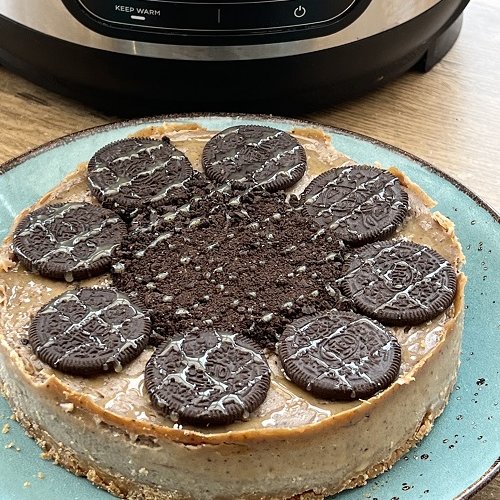
The top of the cheesecake would be loaded with pile of Oreo crumbs in the centre and loads of Oreo biscuits around it for the ultimate pressure cooker cheesecake.
Even myself, who is not big on Oreos (I rarely eat them) had a slice and loved it.
Are You New To The Ninja Foodi?
We created a fantastic Ninja Foodi ECookbook and it is fantastic for easy, beginner friendly Ninja Foodi recipes that use a mix of the sauté, slow cook, pressure cook and air fryer functions. You can find out more about it here.
Plus, as well as our extremely popular Ninja Foodi cookbook, we also have both a FREE instant pot mini course and air fryer mini course, which are both compatible with the Ninja Foodi.
Click here or on the links above and you will have access to both in an instant.
How Do You Make A Cheesecake In Ninja?
The way you make a cheesecake in the Ninja Foodi is by using the pressure cook function.
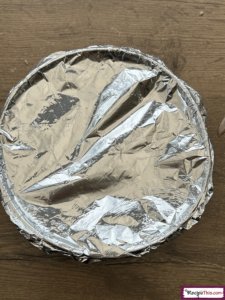
You wrap your cheesecake in foil as this stops the steam from turning it into water, and then you pressure cook.
It’s a much faster and more delicious alternative to baked cheesecake in the oven.
Can I Use Aluminium Foil In My Ninja Air Fryer?
Yes, you can. I use foil to wrap around my Ninja cheesecake, but you can also use it for many other air fryer and pressure cooker recipes in your Ninja.
I recommend that if you have an air fryer, instant pot, or ninja foodi, that you have a supply of foil in your kitchen for easy access.
Can You Make A Cheesecake Without A Spring Form Pan?
Yes, technically you can make a cheesecake without a spring form pan but OMG its hard work getting it out of its container, when you are ready to tuck in.
The spring form pan makes it incredibly easy to cut around the edges and then release the cheesecake once it has set.
How To Remove Cheesecake From Pan?
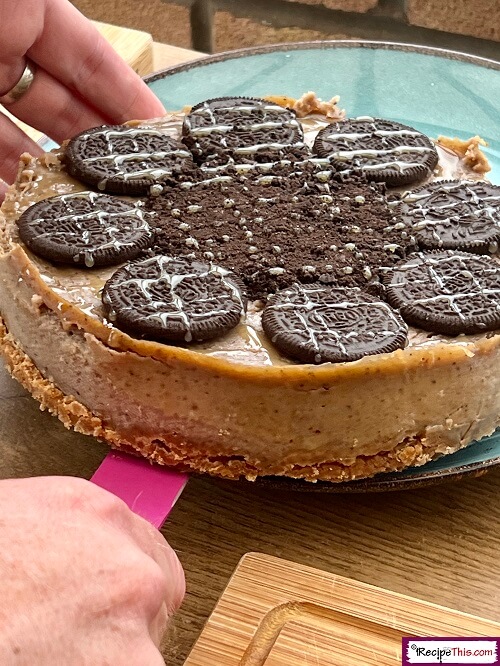
The easiest way to remove a cheesecake from the spring form pan is after it is completely set and cold and has been in the fridge for at least 12 hours.
Then cut around the edge with a knife (this will help loosen it and remove the spring from the spring form pan that is holding it together.
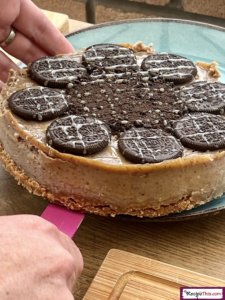
Then slowly remove the spring from the base of the pan and then transfer the cheesecake onto a large plate. The large plate can then be used for decorating the cheesecake on too like we have done.
What Size Spring Form Pan For Ninja Foodi?
I recommend a 7 inch spring form pan for the Ninja Foodi. Though if you want to make a smaller cheesecake you can go down to a 6 inch.
A 7 inch cheesecake is then perfect for serving after dinner and will make a good portion size.
For a spring form pan for a Ninja Foodi I recommend this one.
Do You Bake Cheesecake?
You can follow recipes for no-bake cheesecake, and this is specifically popular in the UK. But what I find is that its so much harder to get a cheesecake right when doing a no bake and much rather bake my cheesecake.
You can then cook your cheesecake in a pressure cooker or an air fryer and then let it sit in the fridge overnight to firm up.
Would you like easy & amazing Ninja Foodi recipes from air fryer and pressure cooker experts? Click here and join the Recipe This Newsletter. We will then send you the BEST Ninja Foodi beginner recipes direct to your email inbox along with other useful Ninja Foodi resources.
What Do You Need To Make Cheesecake?
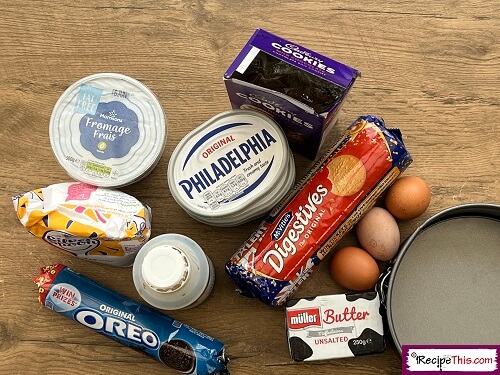
Biscuits – The cheesecake is all about the yummy biscuit base. For the cheesecake crumb you will need your favourite biscuits (we used digestives) and some melted butter. You can also use Oreos or Graham Crackers.
Cheese – A delicious cheesecake is AMAZING because of the Philadelphia cream cheese. There is a lot added to this cheesecake and it makes it so creamy.
Sugar – Then for sugar I recommend caster sugar. Its not overly sweet and just perfect alongside the other ingredients.
Dairy – Whilst some cheesecakes call for sour cream, the best cheesecake batter is made with thick Greek yoghurt or Fromage Frais. We use whichever one we have in.
Egg – You will also need some eggs if baking a cheesecake. They then help bind the cheesecake together and stopping it for been overly wobbly.
Extras – Then for flavour I recommend vanilla, as well as your chosen cheesecake filling. For example, with this cheesecake we added in cookies.
Then for the kitchen gadgets that we have used in this cheesecake in the ninja foodi recipe it has been our Ninja Foodi. We have this one and our Thermomix which is fantastic for mixing everything.
Plus, we recommend you head over to our Ninja Foodi Recipes category as we have a growing collection of tried and tested Ninja Foodi recipes and have been air frying for 10 years, pressure cooking for 5 years and owned Ninja Foodi’s for 2 years.
How To Make Ninja Cheesecake?
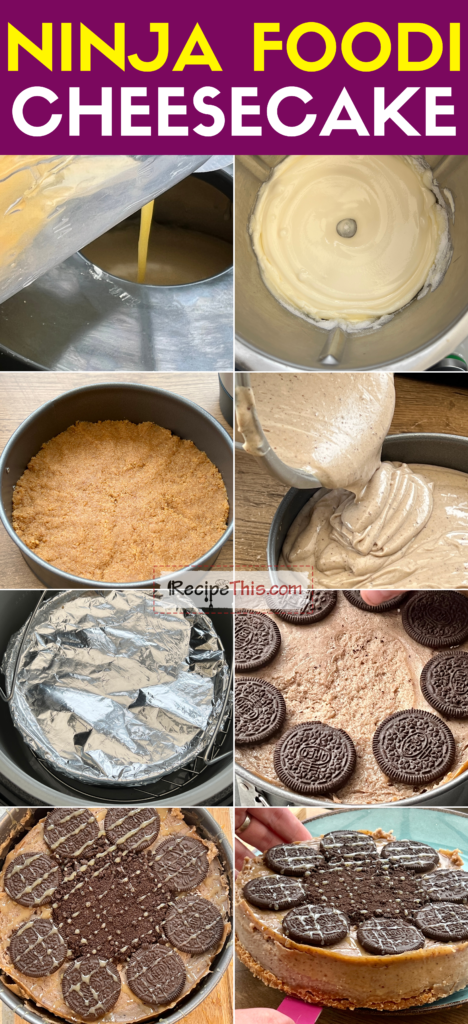
- Base. Using your stand mixer (we used our Thermomix) quickly blast your biscuits into crumbs. Load into a spring form pan and mix with melted butter to make a cheesecake base.
- Filling. Then mix Philadelphia with caster sugar until light and creamy. Stir in yoghurt and vanilla. Crack in the 3 eggs slowly and continue mixing. Finally add in extra cookies and mix until the cookies are well combined into the mixture.
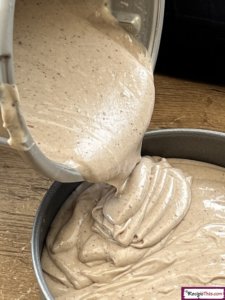
- Smooth. Load the cheesecake filling into the spring form pan and use the edge of a knife to smooth the top.
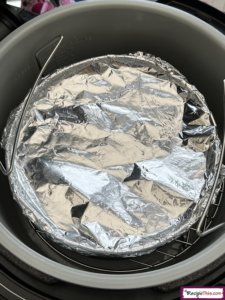
- Cook. Cover the spring form pan in foil and squeeze the edges to wrap tightly. Lower the spring form pan into the Ninja Foodi which needs to have a cup of water in the bottom and its trivet. Cook for 30 minutes followed by a quick pressure release.
- Fridge. Next allow to cool, remove the foil and place in the fridge for 12 hours.
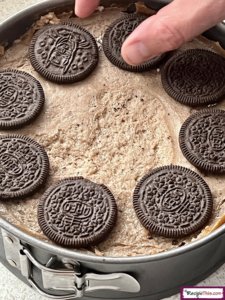
- Decorate. The next day add Oreo cookies around the outside and then fill the middle with Oreo crumbs and then remove from the spring form pan and serve.
And I am sure you can see now how simple and easy it is to cook Ninja cheesecake and why you should be doing the same.
How Long Does It Take To Make Cheesecake?
The cheesecake cook time is JUST 30 minutes plus the time it takes to go to pressure. It is fast to make this pressure cooker cheesecake recipe because you are steaming the cheesecake and not baking it in the oven.
Then thanks to my mixer it takes me about 13 minutes to prepare the rest of the cheesecake.
How To Tell If Cheesecake Is Done?
The cheesecake is DONE when it’s lost its wobble. Compare it to when you make jelly and how when jelly is set its firm and no longer has that huge wobble on it.
Cheesecake once cooked will also be very firm and have a baked texture to it even though you have made a steamed cheesecake.
Ninja Foodi Cheesecake Tips & Tricks
- Make sure your cheesecake mixture is thick before you pressure cook it. It’s the big sign that your cheesecake mixture is wrong if it is not thick.
- If you need to rescue your cheesecake because it’s not thick enough, add an extra tub of Philadelphia and whisk it with your mixer.
- Whatever you do, don’t release the spring form pan until it has been in the fridge, and you have cut around the edges. Otherwise, you will have a cheesecake that will collapse.
- You can mix and match ingredients on the biscuit base. I love Digestives but also love to make them with Hobnobs.
- Remember this is your cheesecake and you can make cheesecake variations. Add limes for a lime cheesecake or how about some chocolate powder for a chocolate cheesecake?
More AMAZING Ninja Foodi Recipes
- Ninja Foodi Chicken Breast
- Ninja Foodi Pork Chops
- Ninja Foodi Steak
- Ninja Foodi Baked Potatoes
- Ninja Foodi Mac & Cheese
- Ninja Foodi Roast Potatoes
Your cheesecake in ninja foodi recipe is below, note you can print it out with or without photos, adjust servings, or click between metric and imperial depending on where you are in the world.
Though before you do, don’t forget to subscribe, and grab your FREE VIP Pass to Recipe This. You will get access to our latest recipes first, you will be able to request recipes, you will have access to free mini courses, free instant pot ebooks and useful instant pot cook time charts and so much more.

Ninja Foodi Cheesecake
Ingredients
- 1 kg Philadelphia Cream Cheese
- 400 g Caster Sugar
- 3 Large Eggs
- 1 Tbsp Vanilla Essence
- 65 ml Greek Yoghurt
- 300 g Pack Oreo Biscuits
- 100 g Pack Mini Chocolate Chip Cookies
Biscuit Base
- 200 g Digestive Biscuits
- 120 g Melted Butter
Kitchen Gadgets
- Ninja Foodi
- Thermomix
- Spring Form Pan
- Foil
Instructions
- Add to your Thermomix the digestive biscuits and mix for 20 seconds on speed 6. Put the biscuits into the spring form pan.
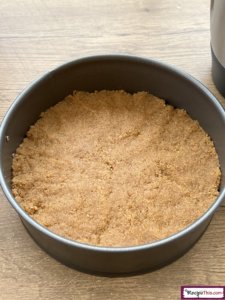
- Add to the spring form pan the melted butter, mix well and press down.
- Add to the Thermomix your Philadelphia cream cheese and mix with the caster sugar on speed 3 for 5 minutes.
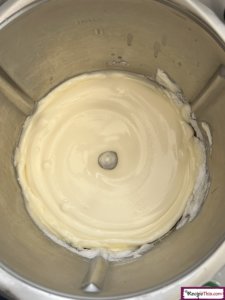
- Add in vanilla and yoghurt and mix for 3 minutes on speed 4. Scrape down the edges for any bits of cheesecake batter that hasn’t been mixed.
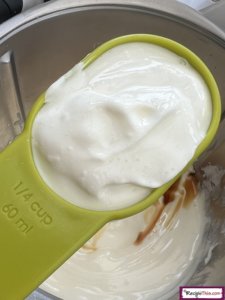
- Crack in the eggs and mix slowly for a minute on speed 3.
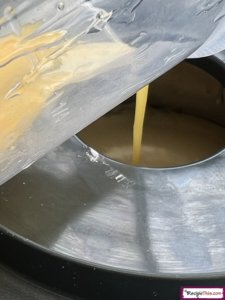
- Then add in the cookies and mix for a minute on speed 6.
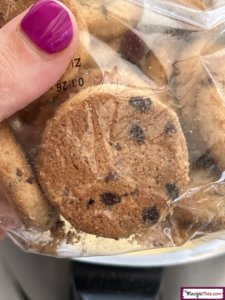
- You should now have a thick cheesecake batter.
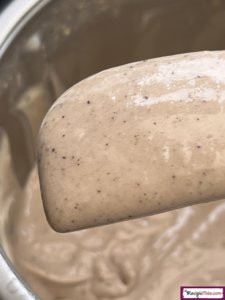
- Load the cheesecake mix over the crumbs and then use the back of a knife to smooth down.
- Cover the spring form pan with foil and crunch the sides to make sure it is firm.
- Add a cup/240ml of water to the Ninja and then add the trivet. Then place the spring form pan over. Cook on pressure cook for 30 minutes followed by a QPR.
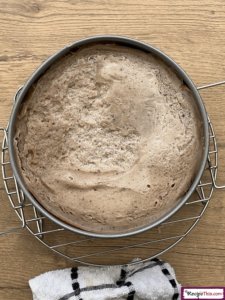
- After releasing pressure remove from the Ninja Foodi and then allow to cool. Remove foil and then fridge for 12 hours.
- The next day decorate the top of the cheesecake with Oreos and then in the centre add some oreo crumbs that you have bashed up with a rolling pin.
- Cut around the spring form pan to remove any bits stuck to the sides and then release your spring in your spring form pan.
- Transfer to a plate before slicing and serving.
Notes
Nutrition
Can’t make it now? Then save it for later!
I could not wait to try it, it looks amazing and tasted just as good. A lot of instructions but they really help you to make the cheesecake correctly and mine was delightful.