Air Fryer Garlic Bread. How to make delicious air fryer garlic bread from scratch. Easy prep and you will think you are in your local Italian restaurant when you taste this.
Our air fryer garlic bread was originally shared on Recipe This in 2017. This is the updated version with more photos and more garlic bread ideas.
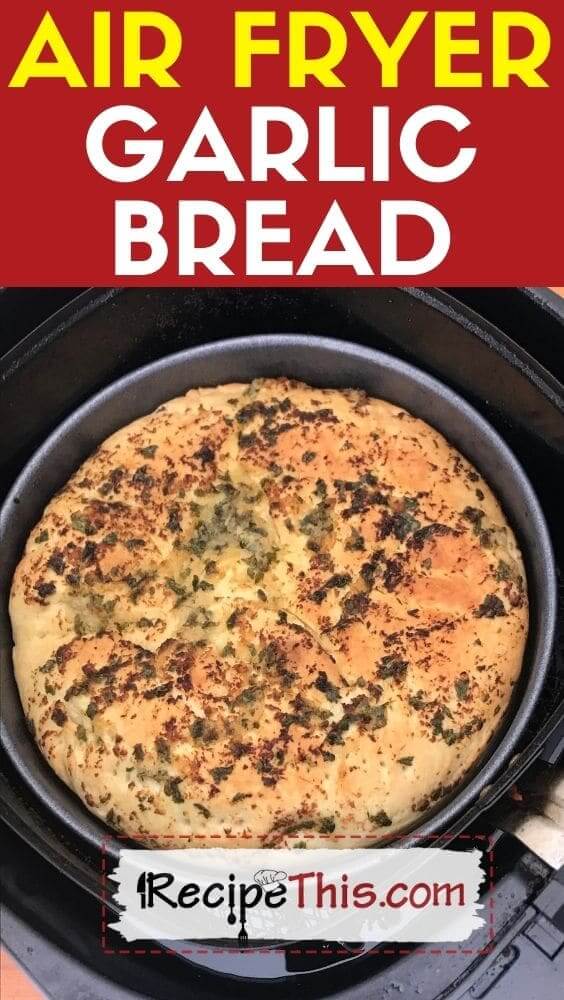
Table of Contents
Air Fryer Garlic Bread
I am a garlic bread junkie and can never get enough of it. With or without cheese, on toast, on bread sticks or even on a pizza base I am there!
It started at the Italian restaurant as a kid watching the show cooking and seeing them create these amazing homemade garlic bread pizzas.
Then in my late teens when living in the hostel, one of the guys would make garlic bread toast.
Fast forward to my 20’s and our local pizza takeaway gave free garlic bread with the burgers.
Though now in my 30’s I think of it as the frugal way to use up pizza dough leftovers.
You are making a pizza anyway, so why not save some for some garlic bread? Then load the garlic bread into the air fryer and you have the best smelling, most delicious pizza style garlic bread to share.

Can You Air Fry Garlic Bread?
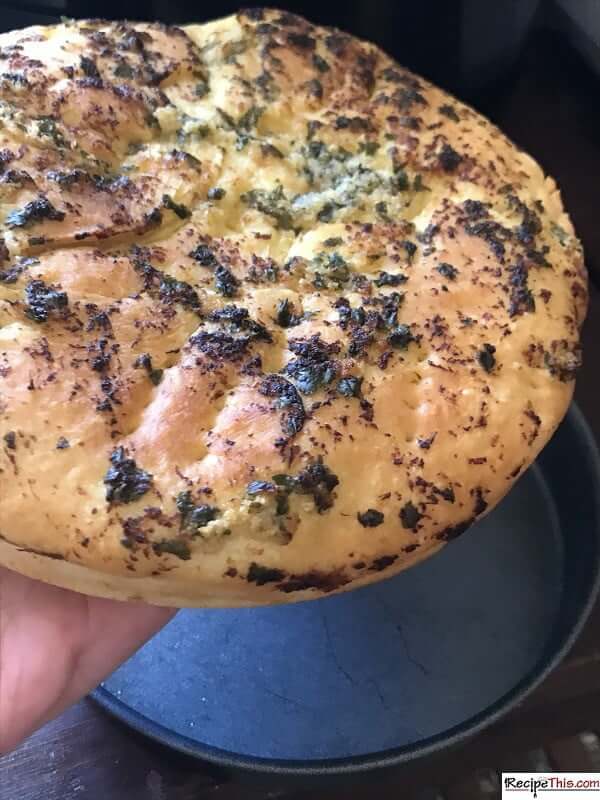
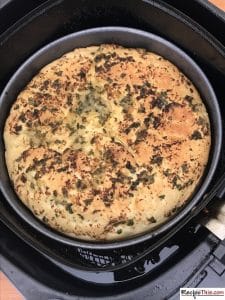
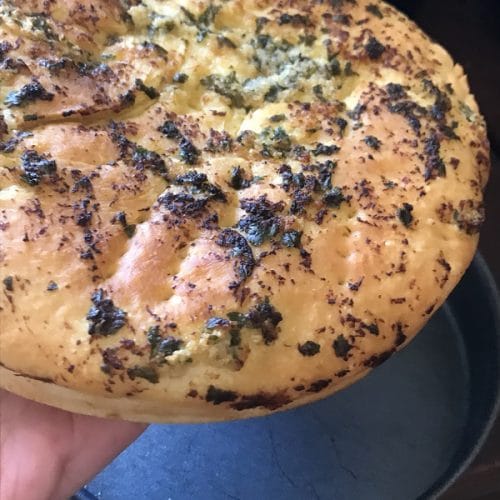
Absolutely. The air fryer does a fantastic job of cooking garlic bread. It will make the garlic bread light, full of flavour and it will puff up during cooking thanks to the yeast in the bread maker pizza dough.
But best of all when you remove the garlic bread after cooking, it doesn’t leave a single mark on the pizza pan and is fantastic for a quick clean up.
How Can Garlic Bread Go In Air Fryer?
You are probably thinking that the logistics don’t work and that you can’t fit a garlic bread in your air fryer.
Well it comes down to what size garlic bread you plan to make and the size of your air fryer.
When we showed you how to make air fryer frozen garlic bread, we used the air fryer oven.
But when we showed you how to make air fryer pizza toast, it was with the regular air fryer basket.
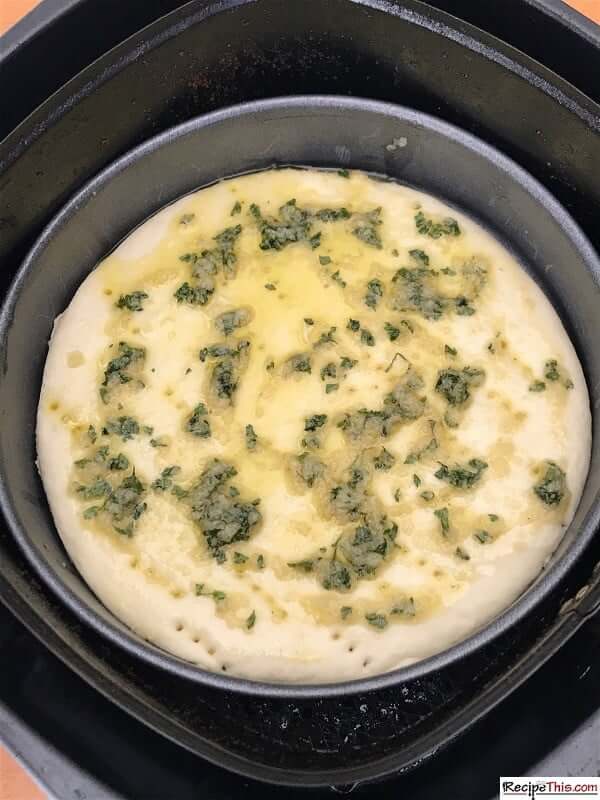
Its all about going with a size of garlic bread that will fit in your air fryer. For example, we use these cute pizza pans in our air fryer and can fit one in for a single garlic bread:
Best Garlic Bread In Air Fryer
For the best garlic bread in the air fryer, its about a few basics:
- Pizza Dough – We use our bread maker pizza dough recipe. Its quick and you can dump the ingredients into the bread maker. Then while the bread maker does its magic, you can be prepping your garlic bread toppings.
- Extra Virgin Olive Oil – The best homemade garlic bread will include extra virgin olive oil. Mix in a little ramekin your olive oil with salt, pepper, parsley and minced garlic. Then when the dough is rolled out
Any air fryer will do a good job at air fryer garlic bread, though we are using our Philips Air Fryer XL.

How To Air Fry Garlic Bread?
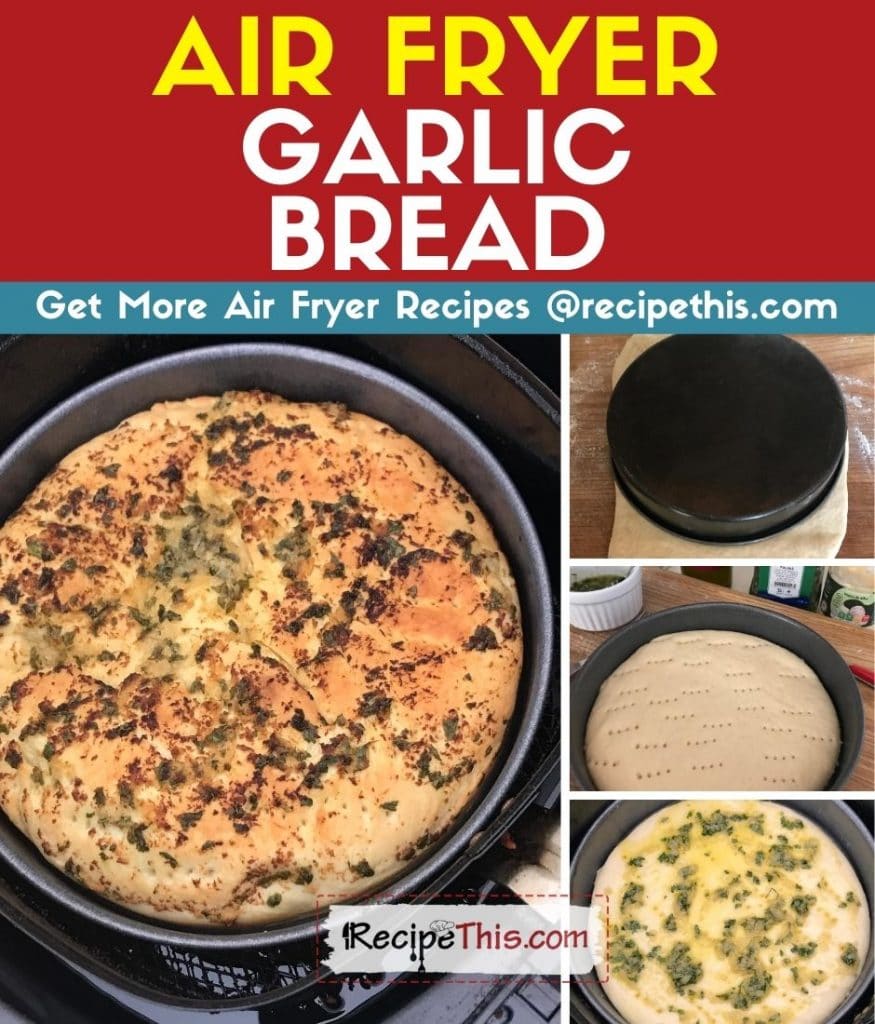
The quick version of making garlic bread in air fryer goes as follows:
- Make a quick batch of bread maker pizza dough.
- Prep garlic topping in a ramekin.
- Load garlic topping onto just rolled pizza dough.
- Air fry + binge.
There is a little more to it than that, but those are the simple basics!
How Long To Air Fry Garlic Bread?
The air fryer garlic bread cook time is an impressive 10 minutes. Though note, that our garlic bread is like a pizza garlic bread and ones used from French bread will take less time.
Or if making garlic toast, opt for following our cooking time and temperature from our air fryer pizza toast.
Air Fryer Garlic Bread Temperature?
The first time I did air fryer garlic bread I cooked it at 180c/360f and found that it was too brown.
The second time and many times since I have dropped the temperature to 160c/320f and it has been perfect every single time.
How Do You Reheat Garlic Bread In An Air Fryer?
To reheat garlic bread in air fryer, cook for 5 minutes at 160c/320f. This will make sure it is piping hot again. Though I find that reheating garlic bread can be a little dry. To combat this drizzle a little extra garlic with olive oil over it before reheating.
Air Fryer Garlic Bread Leftovers

Other than reheating your garlic bread, you might have other leftovers that need using up. What I like to do is make some air fryer bruschetta.
I will load up spare garlic bread that still has the garlic and oil on it, with cheese and tomatoes. Then a sprinkle of oregano. It’s the best and a much better option for reheating leftovers.
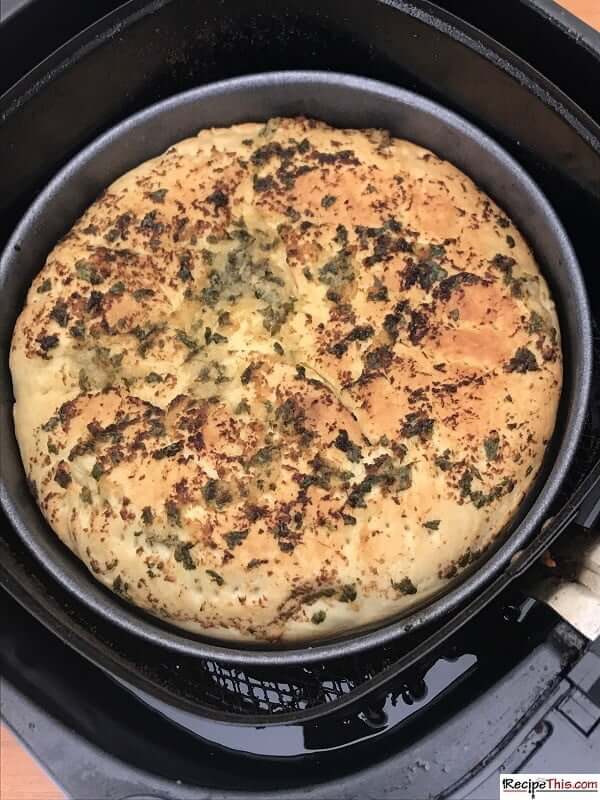
Air Fryer Garlic Bread
Ingredients
Kitchen Gadgets:
Air Fryer Garlic Bread Ingredients:
- 500 g Bread Maker Pizza Dough
- 2 Tbsp Extra Virgin Olive Oil
- 1 Tsp Parsley
- 2 Tsp Garlic Puree
- Salt & Pepper
Instructions
- Start by putting a batch of pizza dough in your bread maker. Or alternatively use leftover bread.
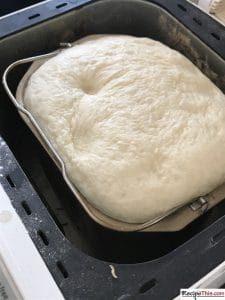
- Load the toppings into a ramekin and mix.

- When your bread maker beeps, find a cute 3 year old to roll out the dough into two pizza pans.
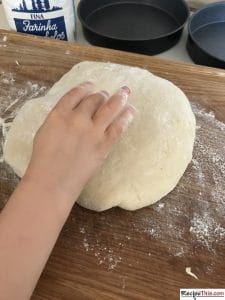
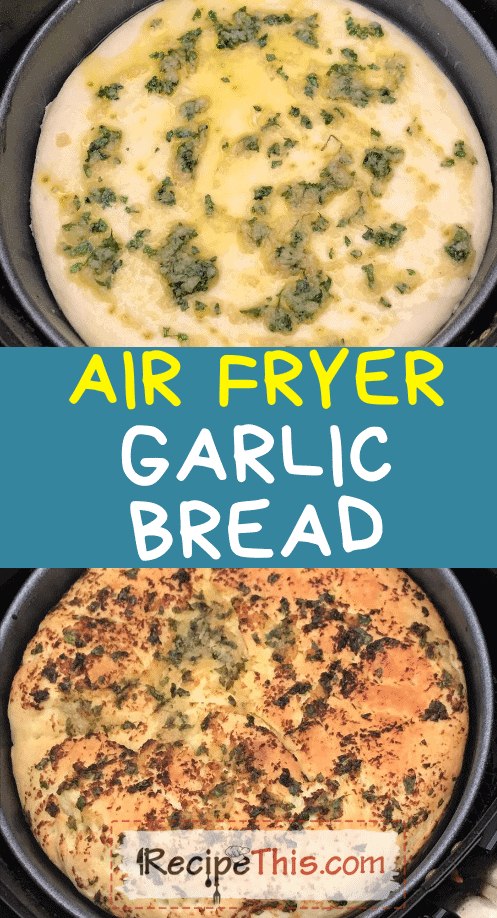
- Fork the pizza dough and then load it up with the contents of the ramekin and spread it out with a fork so that you have an even spread.
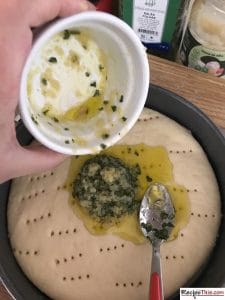
- Air fry for 10 minutes at 160c/320f.
Video
Notes
Nutrition
Can’t make it now? Then pin it for later!
Join The RecipeThis.com Community:
Facebook Group | Pinterest | Twitter | YouTube
Plus, don’t forget to subscribe below to join our email newsletter with updates of our latest recipes, latest freebies, our cooking stories, plus much more:
I have made these a few times in large quantities so that I have some in the freezer for quick and delicious dinners – they turn out perfectly. Thank you for sharing this recipe!
Yum!!
I am looking to make these for my daughters 8th birthday get together for 35 people ( dont ask how I ended up with that many !! )
These sound AMAZING,